Coffee Mug Creativity -Part 2
I have one more post using the Coffee Mug Wafer Dies - with an interactive feature, and another way to include a hidden message.
Techniques:
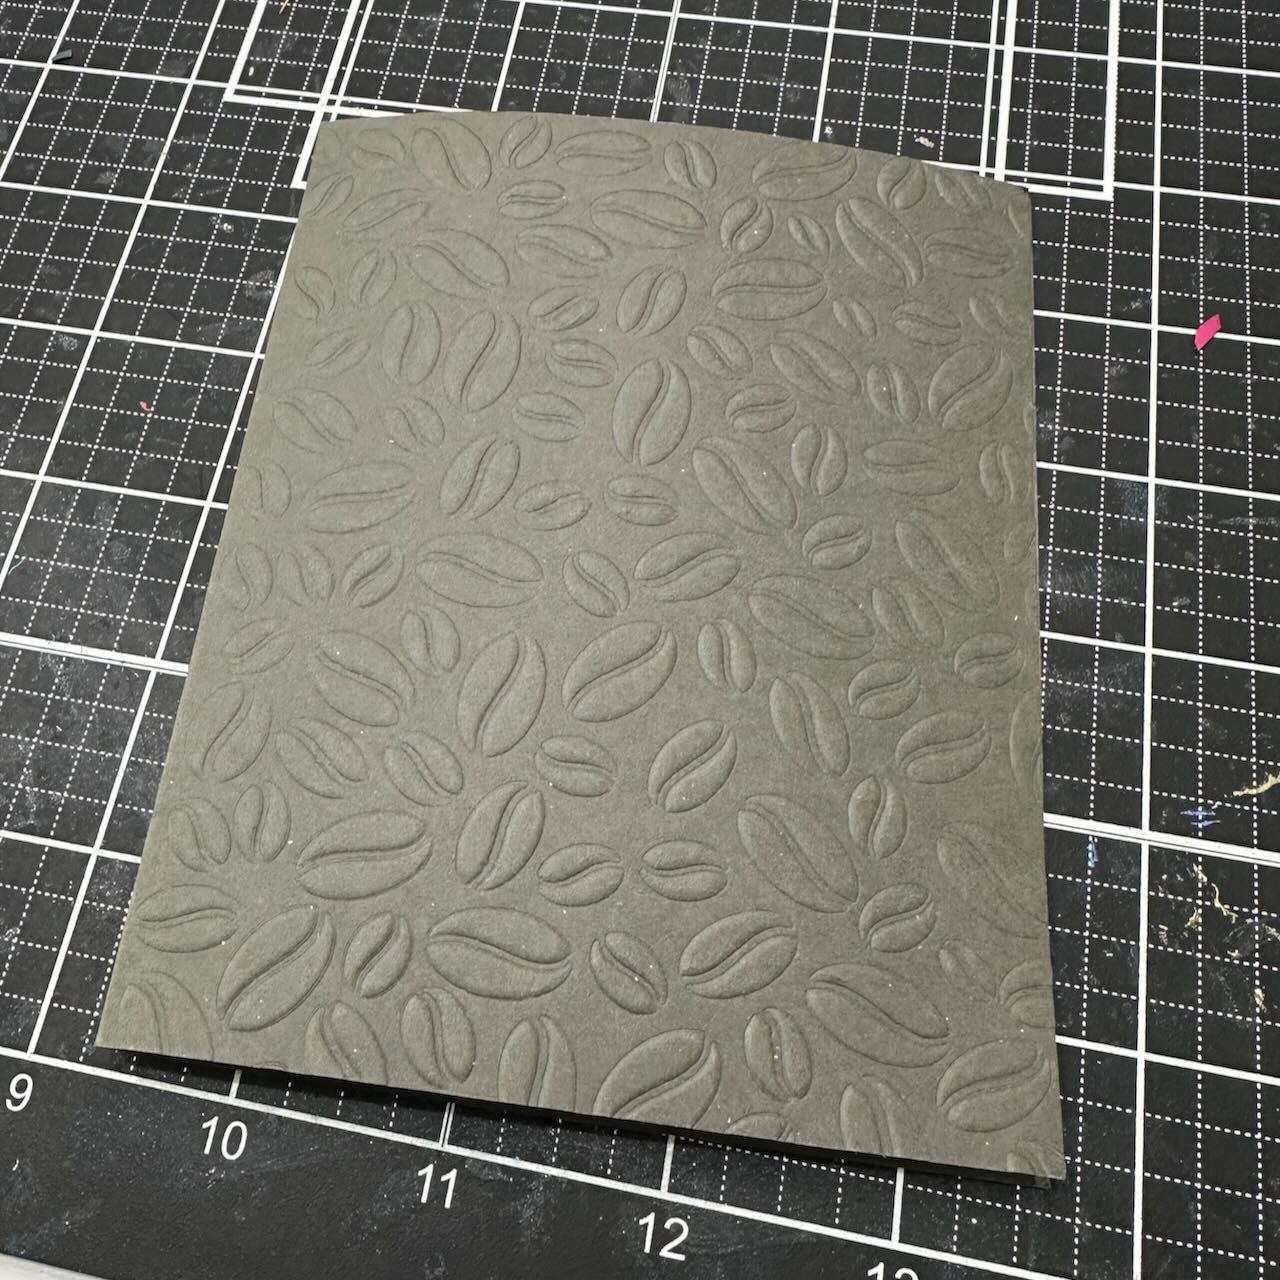
I used the Fresh Roast stencil to emboss the Mushroom cardstock for the front panel. I wanted it have more contrast and visual depth, so I applied gold ink around the outer area with a blending foam, and then went back in and (very lightly) rubbed my Mushroom ink pad across the top of the embossed coffee bean pattern.
One of the two mugs I decorated with a die cut flower, and the other I stamped a row of little pumpkins on. I filled both with brown cardstock - that I’d done a little additional ink blending on using ink left on brushes to get the right shade of brown that I wanted.
Adding some shading around the bottom and right sides of the mugs gives them some depth. I used ink colors that matched the cardstock so it was a subtle shading, and by using smaller blending brushes I was able to control where the ink was added so I could keep it to the side, especially.
My plan was to stack two mugs, and have a coffee foam piece pull out of the top one with a stamped message on it. I didn’t have a cupcake frosting or ice cream die that was the right size to fit, but if you do that would be an easy way to create this! (Funny enough - I got one unexpectedly in a package today… a little late, but I may try it in the future.) I found two small cloud dies that I thought I could combine to create the edge I wanted. I accomplished that by positioning my cutting plates to cut the top edge but not the straight bottom edge. (See the trio of pictures below. I know Jennifer McGuire has shown this in detail also.)
As far as the layout (and design), the coffee bean background is a smaller pattern that balances well with the larger mugs on top of it. The shading on the mugs and use of foam to pop up the center of the mugs and the layered sentiment all add depth. And by using three groupings of bolder warm colored elements (mug, sentiment, sequins) against the cooler colored background I was able to crete a strong focal point.
Colors:
cardstock: Concord & 9th Cayenne, Spiced Cider, Sunflower, Peacock, Mushroom, and Nutmeg. Simon Says Stamp Cream.
ink: Concord & 9th Spiced Cider, Peacock, and Mushroom. Versafine Embossing Ink.
Thank you for visiting! Keep an eye out for more STAMPtember fun!
Links are below if you’re interested in any of the products I used.
*If any of the items at Simon Says Stamp are sold out, just click the “Notify Me” button and you’ll be alerted as soon as they are restocked. They are being re-ordered and should be back in stock soon.
*Affiliate links do not cost you any more when you shop, but it is beneficial to creators when you use them, so thanks in advance!
It began on September 1 with a huge new product release, and is an online celebration all month long. There are over 30 limited-edition collaborations with some of the wonderful companies who are part of this industry that will be coming too. You can find all the details on the Simon Says Stamp blog here.


