Custom Treat Wraps
Throwback Thursday
I was talking with a friend the other day and thinking about some of my favorite products to create with. They aren’t always the newest, so that gave me new motivation to start Throwback Thursday Projects here. They may not be every Thursday, but it is a chance to share some things I’ve wanted to give more love to but have been pushed aside in the quest of creating with newer product.
I made some valentine cookies using my grandma’s recipe. Some that she always made and shared dozens and dozens of every year for Valentine’s Day. It makes a lot, and I was going to meet a few friends for dinner, so I thought I’d share with them. And why not make it extra fun, right?


Techniques:
Core products are listed below, but please do let me know if you want details about anything else. (I just didn’t take time to include everything there.)
I chose the Love Quilt Top Dies as the foundation for all three, but I did want all three to be different. They all use the same base shape, from that die set.
1. Cut from Oceanside cardstock. I added some shine and interest to the base with a spray stain and a shimmer spray. The letters and heart are cut from Tidepool, Aqua Sky, and Harbor.
2. Base layer cut from Wheat, and then embossed with the Modern Mosaic cover die. I added hearts cut from 7 colors (Honeysuckle, Poppy, Sorbet, Avocado, Artichoke, Tidepool, Peacock), and attached them with thin foam squares for dimension.
3. Base cut from Watermelon, and embossed with the Blossoms stencil from the Dots & Blossoms set. I cut the greeting out of both Pink Lemonade and Buttercup, attached them together, and added a layer of white letters on top. And added a few small hearts scattered in for some embellishment.
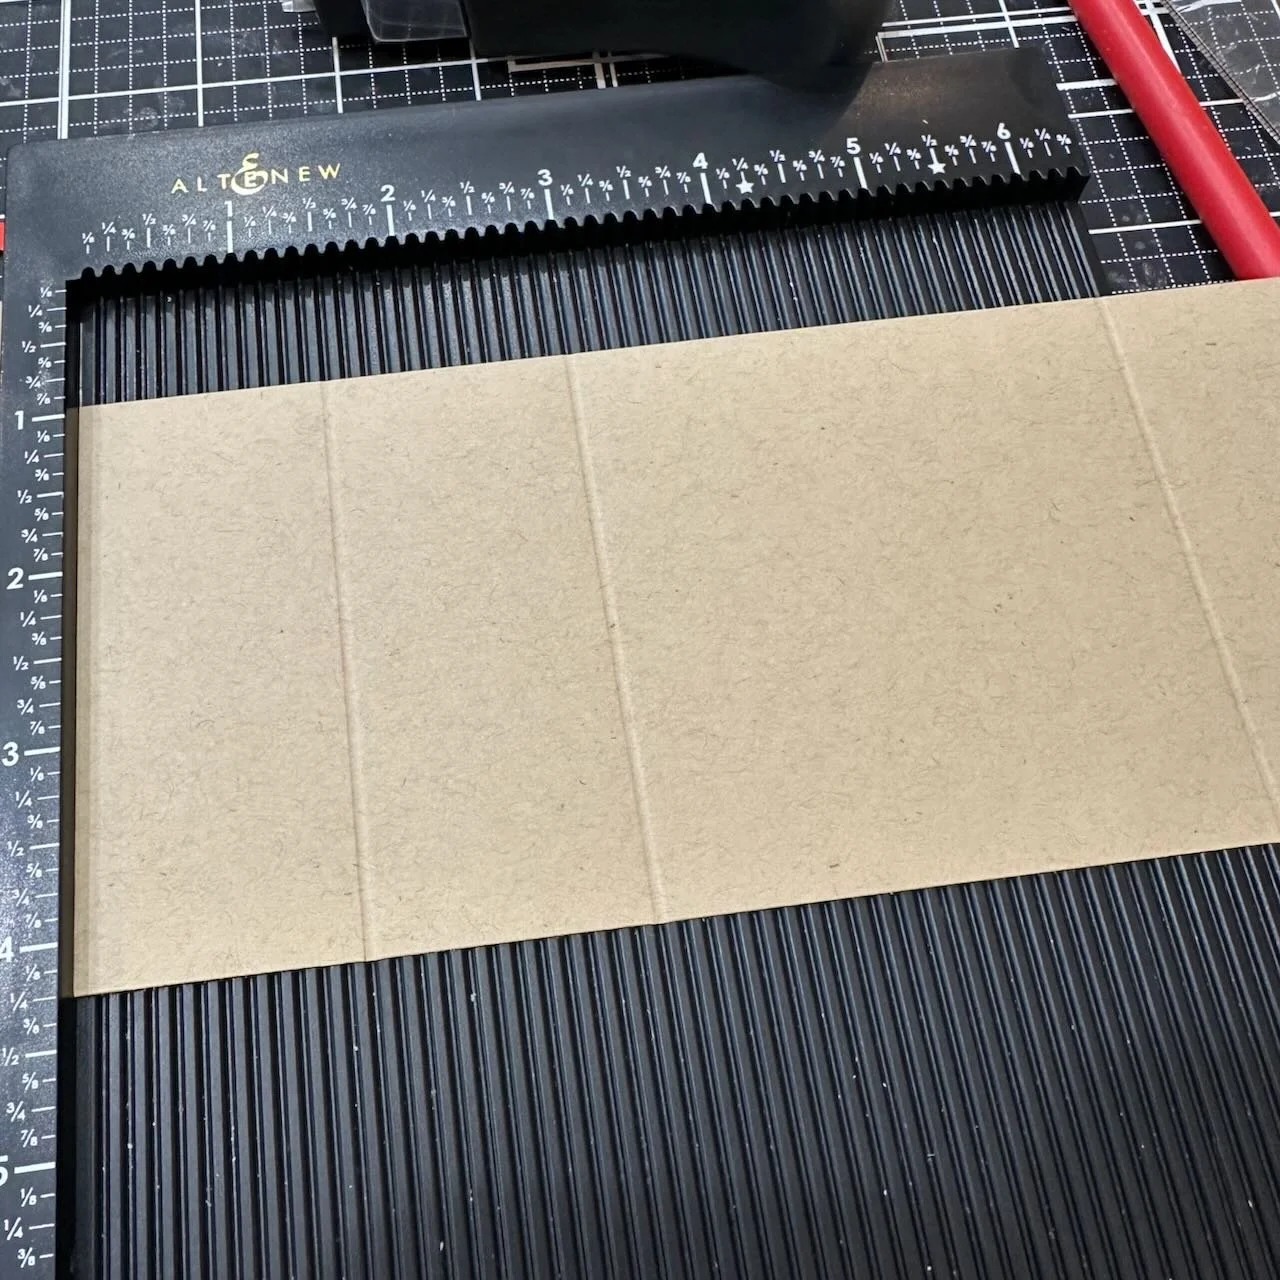
I cut a strip of 3.375”w x 11” long cardstock of each of those base colors, scored it to be 1.5” deep once folded, and use a notch tool to be able to secure the wrap without making it permanent. (You could also just use adhesive and seal it closed. I think there are newer notch tools available if you like that approach, or you could even do a partial cut of a small circle die.)
I folded that strip and attached it to the back of the card with double-sided adhesive.
To keep the treat bag from falling out, I punched a small hole in the back, looped a piece of twine through it and tied it around the top of the treat back. That way, it won’t fall out when picked up. (I was going to add a bottom inside the wrap, but wanted it to be able to unwrap and flatten.)
Do you want more details about scoring dimensions? I’d be happy to create a cutting/scoring pdf for that wrap portion if there is interest. I have my sketch so I’d remember! Just let me know.


Colors:
cardstock: Concord & 9th Pink Lemonade, Watermelon, Honeysuckle, Poppy, Sorbet, Buttercup, Avocado, Artichoke, Tidepool, Aqua Sky, Oceanside, Peacock, Harbor, and Wheat.
ink: I just used my “dirty” brushes with blue and teal inks for card 1, to adjust the colors a bit and add some interest.

Thank you for visiting! I hope you get some time to create something soon. Stay tuned for more over the next few weeks!
Links are below if you’re interested in any of the products I used.

*Affiliate links do not cost you any more when you shop, but it is beneficial to creators when you use them, so thanks in advance!