Coffee Mug Creativity
Combining new products to create a Hug in a Mug bouquet, and lift the flap mugs with hidden messages.
STAMPtember is here. (Catch the live here if you missed it.) This post is a collection of cards using the new Coffee Mug Wafer Dies. I love that this set includes three sizes. I have two cards here now, but plan to add more.


This card features FIVE of the new STAMPtember products. (I wanted to get creative and see how many I could include on one card - in a meaningful way.) See if you can find them in the card, or check the visual supply list below to see.
Techniques:
Some ink blending on the lower half of the background panel helps add some visual depth and grounds the design with that perceived weight at the bottom. It also allows the embossed areas to show up with a little more contrast. I did go back in after embossing and added some additional ink blending to the four corners to accentuate it.


I cut out the flower die from a few colors of paper as a starting point, but then I used some of the ink cubes from the new Red Earth collection to add shading and create more color variation on the flowers.
After die cutting the mug, I realized that I needed something to fill in the space left open “inside” the mug. I realized the easiest way would be to just flip the mug upside down and die out a similar shade of paper with just that portion of it. That gave me a perfectly curved edge to glue behind the mug and I didn’t have to trim it. (I used one step lighter in cardstock for that, but darker would also work well.)
A few flowers are popped up using foam squares to create more depth on the card.


Colors:
cardstock: Concord & 9th Spiced Cider, Cayenne, Avocado, Midnight, Blueberry and Wheat. Simon Says Stamp Cream.
ink: Simon Says Stamp Paprika, Sangria, Nutmeg, and Allspice.


The Coffee Time stamp set (you can find it in the visual supply list below) includes SO many stamps, I wanted to use more than one on the card.
Techniques:
The background is ink blended through the Fresh Roast stencil. I blended it with more ink at the bottom and less at the top.
I planned my layout before I die cut the mugs or glued anything down. I used the partial die cut technique (learned from Jennifer McGuire, I’m sure) and lined up the card panel with taped-on die so the left side of the mug was beyond the edge of the cutting plate. That way the rest of the mug was cut, but since the plate didn’t cover that left edge it didn’t have enough pressure to cut. Perfect for making a flap out of any shape that can have a flat side. I repeated this to do the second mug.
The coffee mug die cuts an open oval (where you’d want to see the drink, but I didn’t want that open on the flap. To cover that I cut a second mug from the same color of cardstock, and glued it to the back of the flap with a small scrap of brown in between to fill that in. That has the added benefit of making the flap a little more thick - and easier to open.
Once the flaps were created I realized I wanted them to stand out a little more from the card panel, so I masked off the background around the mug and right up to the left side. (I used Post-It tape here, but anything you like to use for masking would work.) This let me add some shading along the left side, bottom, and handle of the mug, which gave it just enough variation to stand out a little more.


To test which greetings would fit behind the mug flaps, I just held the die over the stamp set to see which were fully covered by the die. You could also cut the dude out of a scrap piece and hold that window over the stamps if it is easier for you.

Colors:
cardstock: Concord & 9th Cayenne, Clementine, Honeycomb, and Mushroom.
ink: Simon Says Stamp Cabernet, Punch, and Nutmeg.
Thank you for visiting! Keep an eye out for more STAMPtember fun!
Links are below if you’re interested in any of the products I used.
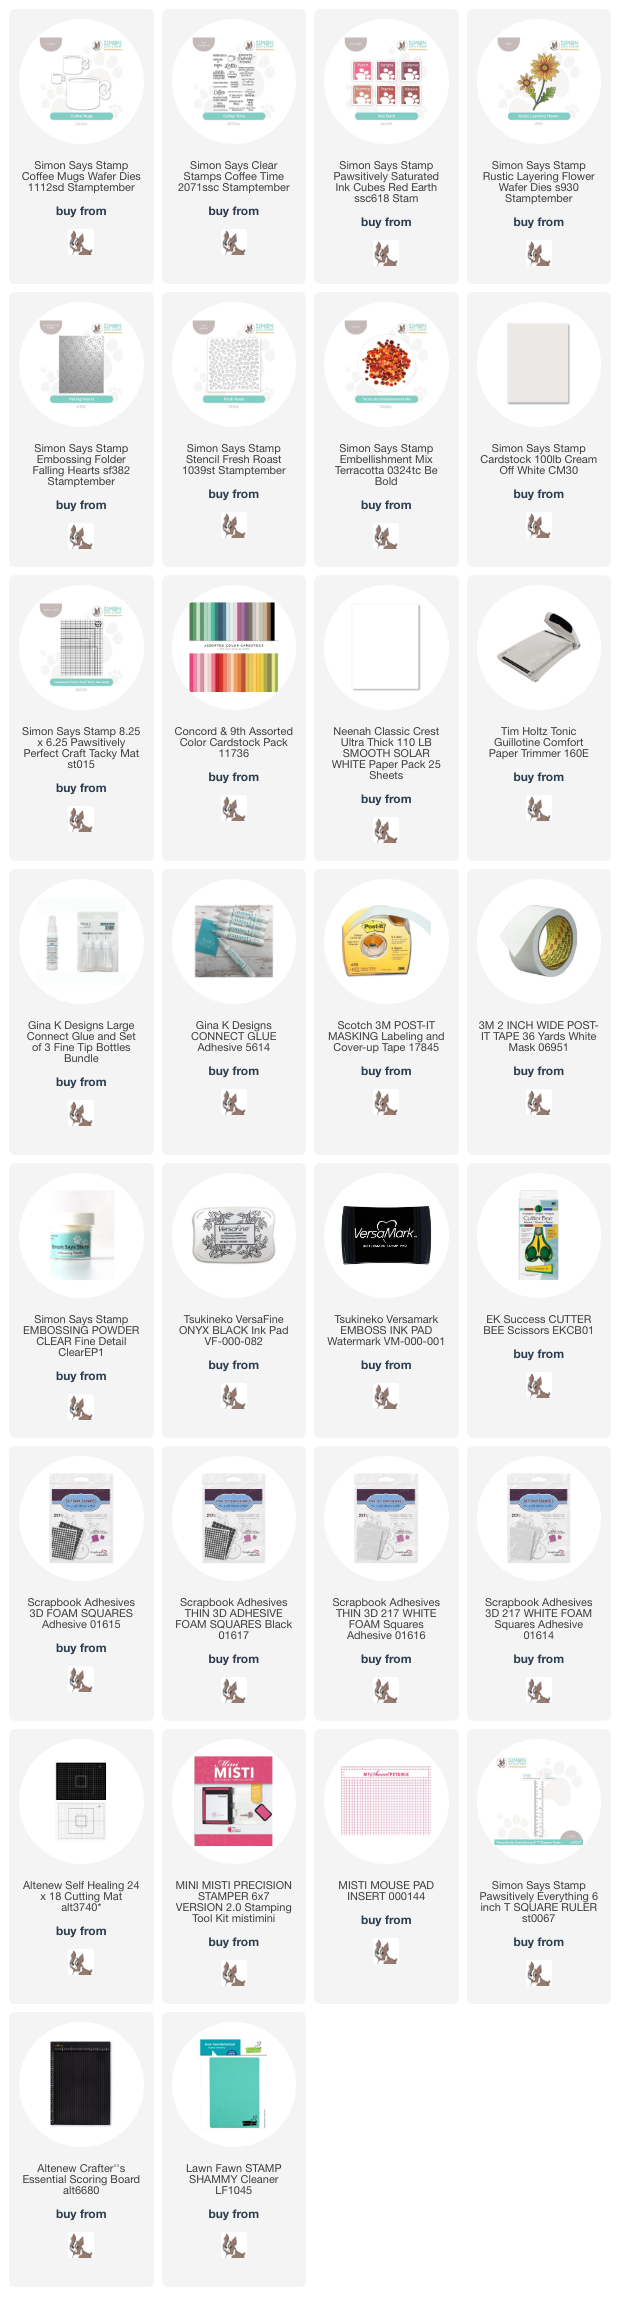
*Affiliate links do not cost you any more when you shop, but it is beneficial to creators when you use them, so thanks in advance!

It began on September 1 with a huge new product release, and is an online celebration all month long. There are over 30 limited-edition collaborations with some of the wonderful companies who are part of this industry that will be coming too. You can find all the details on the Simon Says Stamp blog here.