Inking Embossing Folders - with Online Card Classes
Online Card Classes has a great collection of classes that are full of inspiration and technique ideas for cardmaking (and other paper crafts). They have a library of classes that you can buy (inexpensively!) and watch at any time, and add new ones every year. In May 2024 they added a new one focused on embossing folders and some of the variety of techniques you can use them for.
Day 2 was about using ink in the embossing folder, in videos from Jennifer McGuire and Jaycee Gaspar. These two cards both incorporate inking on the embossing folder, and even the same dies for the sentiment and mortar board (graduation cap). I won’t be going into technique detail here (you can find that here on the OCC website) but will share some of the details of how I created these cards.

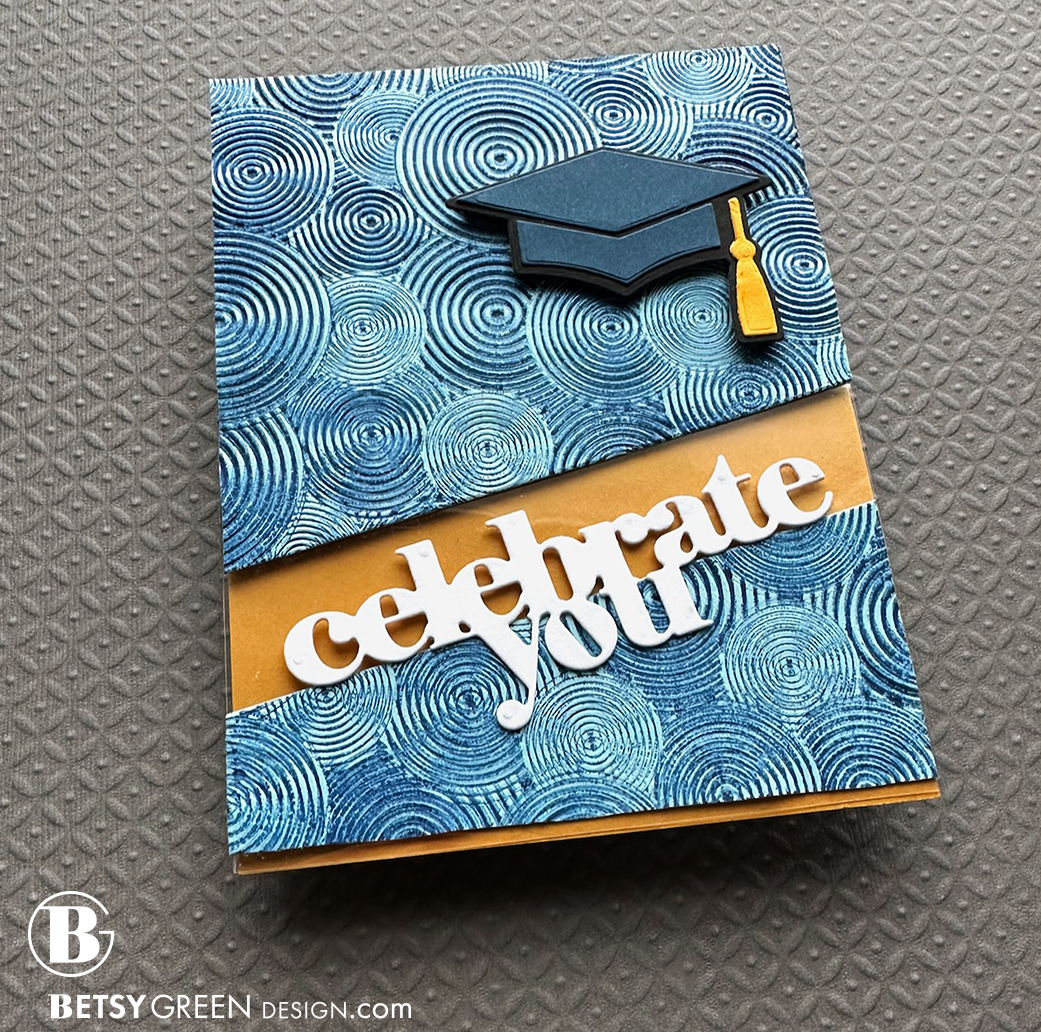
This blue card uses Blueberry ink on a Harbor cardstock background. (All the colors used on these cards are from Concord & 9th, both the inks and cardstock.) The embossing folder I used for this one is Circle Hoops , by Simon Says Stamp. This embossing folder creates a kind of optical illusion when inked because in the concentric groups of circles there is variation in the width of the rings, and it isn’t immediately obvious to our brains which parts are raised (embossed) and which are debossed. It creates a visual sense of movement.
I wanted to have an acetate layer to this card to create some visual interest. I intended to use is as the foundation for the die cut greeting, but it also works well as a way to break up that patterned background. (Which would not be necessary it if was simply embossed without adding ink, but the ink adds a layer of contrast and an effect similar to looking at someone wearing a shirt with many narrow high contrast stripes. It can be busy.) I used the smaller of the Slanted Shortcut Die Set dies from Concord & 9th to cut off an end of the embossed panel, and then used my trimmer to trim off the opposite straight end, which allowed for that gap in between the two sections.


I attached the smaller angled piece (that would be at the bottom of the card) to an A2 size piece of heavy acetate. I cut and scored a folded A2 card base out of Midnight cardstock, and used the larger angled piece to know where I needed to trim it down, and did the same with a piece of Sunflower cardstock that I put inside on the card base. (See the 3rd process image above.) All those pieces were layered and glued together. I positioned the lower embossed piece to be about 1/8” above the bottom of the acetate so the yellow inside would show and give it a nice little border.
The die cut (and layered) Celebrate You and the mortar board were the final touches for this card.


Colors
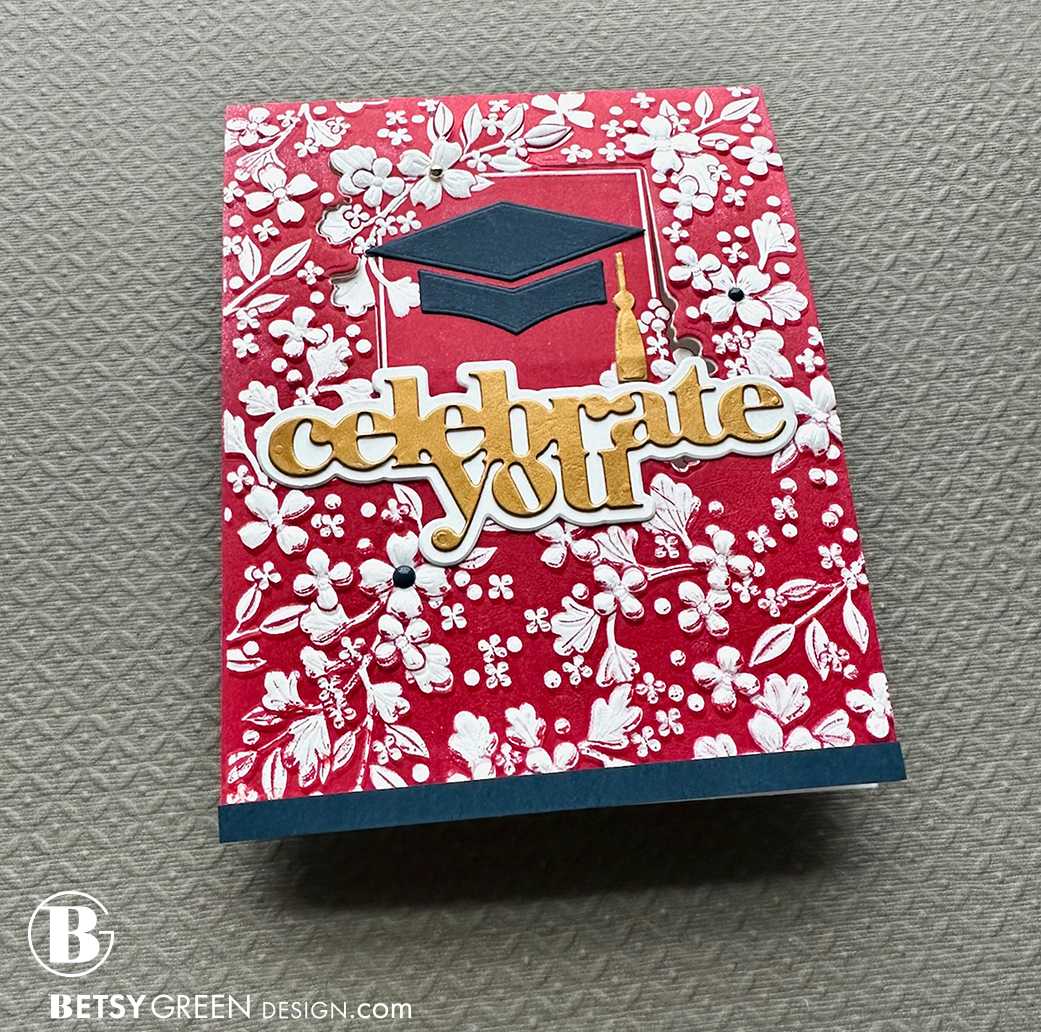
(Based on school colors.) A mix of Poppy and Cranberry inks in the Simon Says Stamp Jubilee embossing folder on white cardstock. Accents of Midnight cardstock and matte gold.
Techniques
Inked embossing folder. (See Day 2 class in Online Card Classes Extraordinary Embossing Folders.
Used the coordinating cutting die to cut out the center of the frame, which became the base for the graduation cap.
Fold / pop-up technique inspired by Jennifer McGuire’s Pop-Up Wow Window Cards
Details
Gorgeous texture from the embossing folder.
Gold and Midnight enamel dots added to a few flower centers.
High contrast - crisp white contrasts with deep primary colors, just a touch of metallic for focal point.

You may have noticed that I tried doing my explanation a couple of different ways this time. Which do you prefer - written out in paragraphs, or just the basics? Or the design tip focus I have done one other days? I’ve been testing out different options, so please let me know what you like to see.
Thank you for visiting! I hope you get some time to create something soon.
Links are below if you’re interested in any of the products I used.
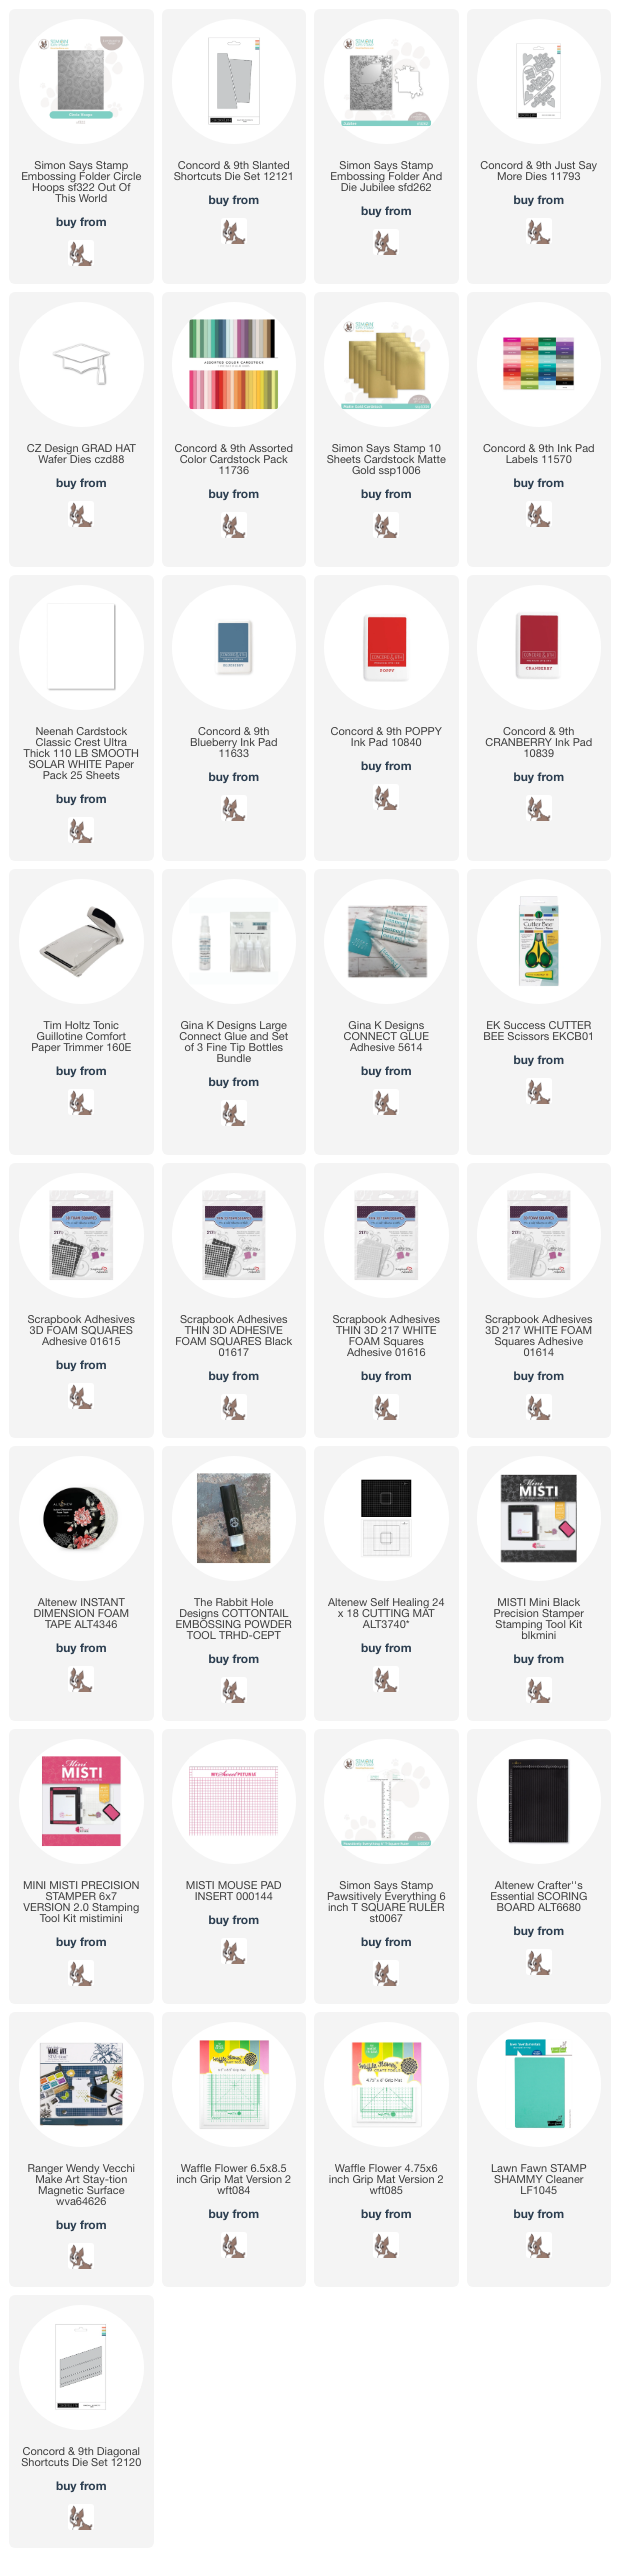
*Affiliate links do not cost you any more when you shop, but it is beneficial to creators when you use them, so thanks in advance!