Creating Snowflakes with the Stencil Builder
Have you tried the Gina K Stencil Builder. (If not, It is similar to Gina’s wreath builder, if you’ve used that, but for stencils.)
I’ve done some other cards using it in a more straightforward way (see the ones shown here and here). This time I wanted to try using the Stencil Builder as an orientation and placement guide, but rather than creating something with a center rotation point, I chose a corner of the card front to be that point.
Techniques:
To create the diamonds of negative space within the pointed oval stencil, I cut small diamonds out of Masking Magic. (I used the second smallest of the Diamond Hero Arts Infinity dies, but any small diamond die would work. Small circles, hearts and circles would be cute also.) After I positioned the stencil, I added the Masking Magic diamond to the space before I added ink. I left them all in place until I was finished ink blending, so they remained white through the overlapping layers of color.
I used the same corner pivot point the small teardrop stencil, but moved it 5/8” farther into the corner away from the card panel (see the black dot on the stencil in the photo) so those would overlap the first layer the way I wanted them to. I used the already-stenciled pointed ovals to help me position it with those as I worked my way around the snowflake.
I also added in more diamonds with Masking Magic - but this time I used the negative piece of Masking Magic from cutting out the diamonds so the diamonds would be colored. These help build up the design of the snowflake. As it radiates out, it needs more elements to maintain the level of detail and visual connectedness that creates that cohesive snowflake look.
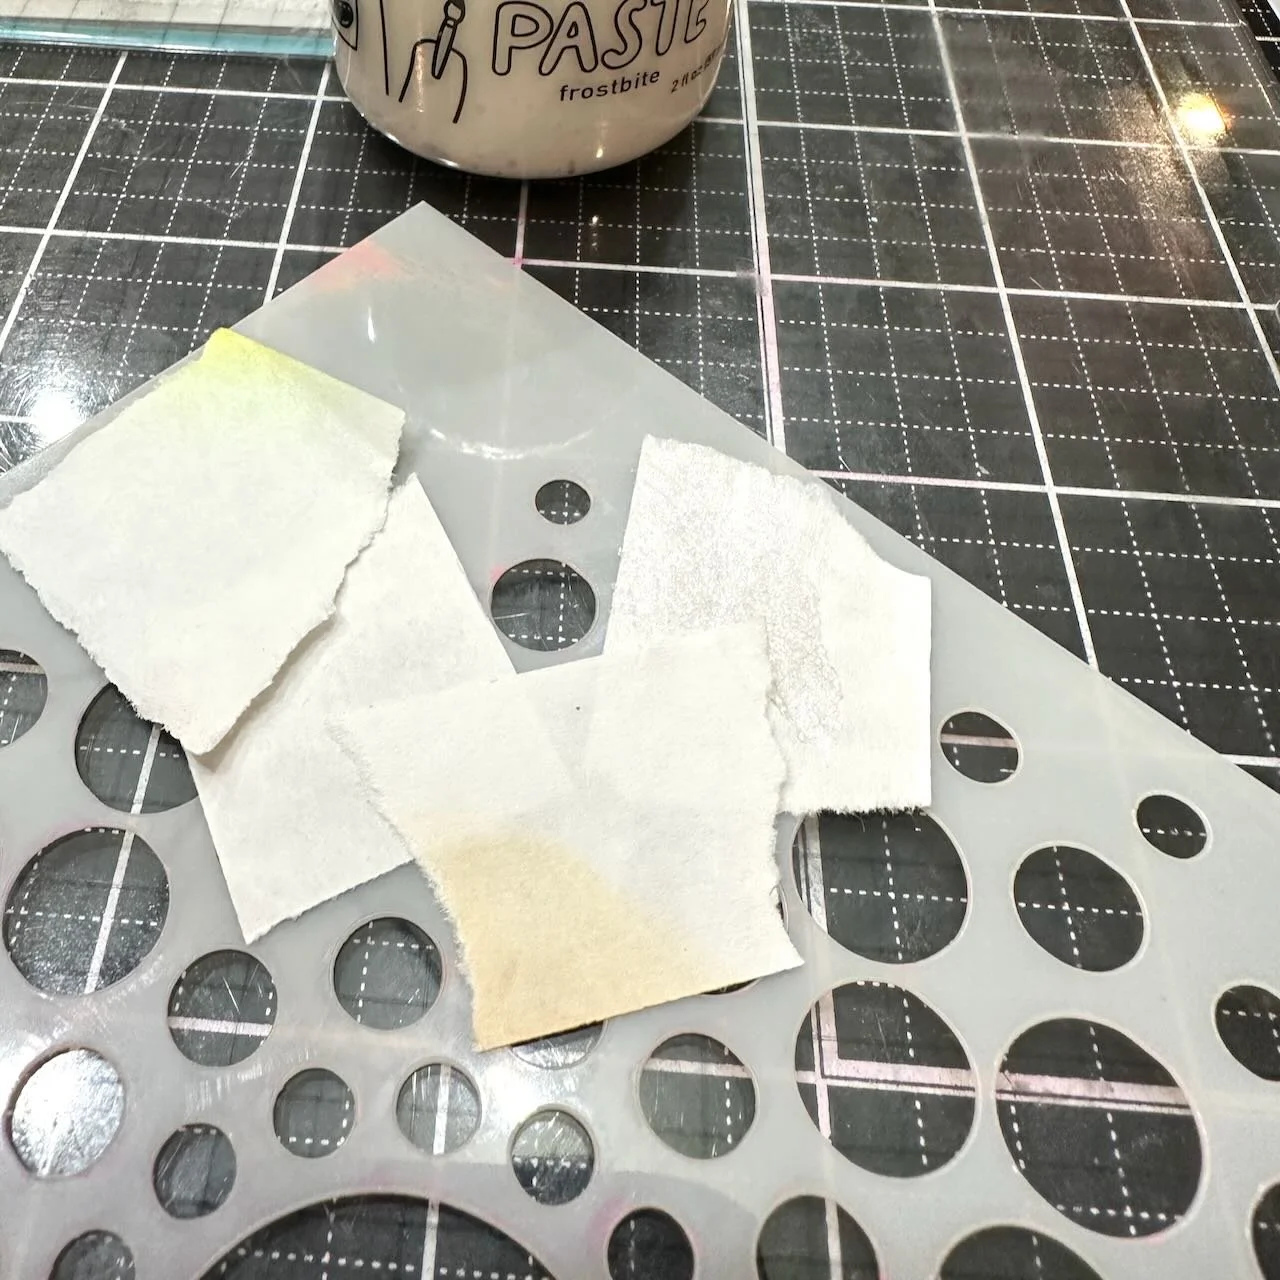
After the ink blended snowflake was done, I realized I’d meant to add a negative space in the teardrop shape also. My plan B was to add some Frostbite Astro Paste to break up that larger colored area to give it more of a snowflake feel. You can see in one of the photos that I masked off all but 2 of the dots in the Sun Spots stencil and used that.
For a little touch of contrast and detail, I found a snowflake stamp that fit, and stamped it in the upper left corner. I used the same color of ink (Mushroom - a charcoal gray) that I planned to use for the greeting.
I wanted to mat the front panel, but also wanted that stamped snowflake to bleed off the edge. I lined up my card layers, and then stamped the same snowflake on the Lilac cardstock for the background.
The greeting is an older Gina K stamp set, Star Flower, but almost any greeting would fit well with this snowflake design.
Colors:
cardstock: Concord & 9th Lilac
ink colors: Gina K Sea Glass, Blue Lagoon, Powder Blue, Wild Lilac. Concord & 9th Lilac, Mushroom
Thank you for visiting! I hope you get some time to create something soon.
Links are below if you’re interested in any of the products I used.
*Affiliate links do not cost you any more when you shop, but it is beneficial to creators when you use them, so thanks in advance!


